"Reduce file size without losing quality" sounds like it's asking for something impossible, and in the strictest sense it is — any lossy compression discards some data. But in practice, most images carry far more data than anyone will ever perceive, which means there's a wide range where file size drops dramatically and the difference is invisible to the eye. The trick is knowing where that range is and hitting it consistently across a batch, not doing it by feel on one image at a time.
The Two Levers That Actually Matter
File size comes down to two things: pixel dimensions and compression quality. Most people jump straight to cranking down JPEG quality, which is the more visible lever — push it too far and you get blocky artifacts. The less obvious lever is dimensions: an image displayed at 1000px wide but saved at 4000px wide is carrying four times the pixel data for zero visual benefit at its actual display size.
Resize First, Then Compress Lightly
The combination that reduces file size the most while staying visually lossless is resizing to the actual display size first, then applying moderate compression — rather than keeping full resolution and compressing aggressively to compensate. Resizing an oversized image down to its real target dimensions often cuts file size more than compression alone, and it lets you use a higher, safer quality setting on top.
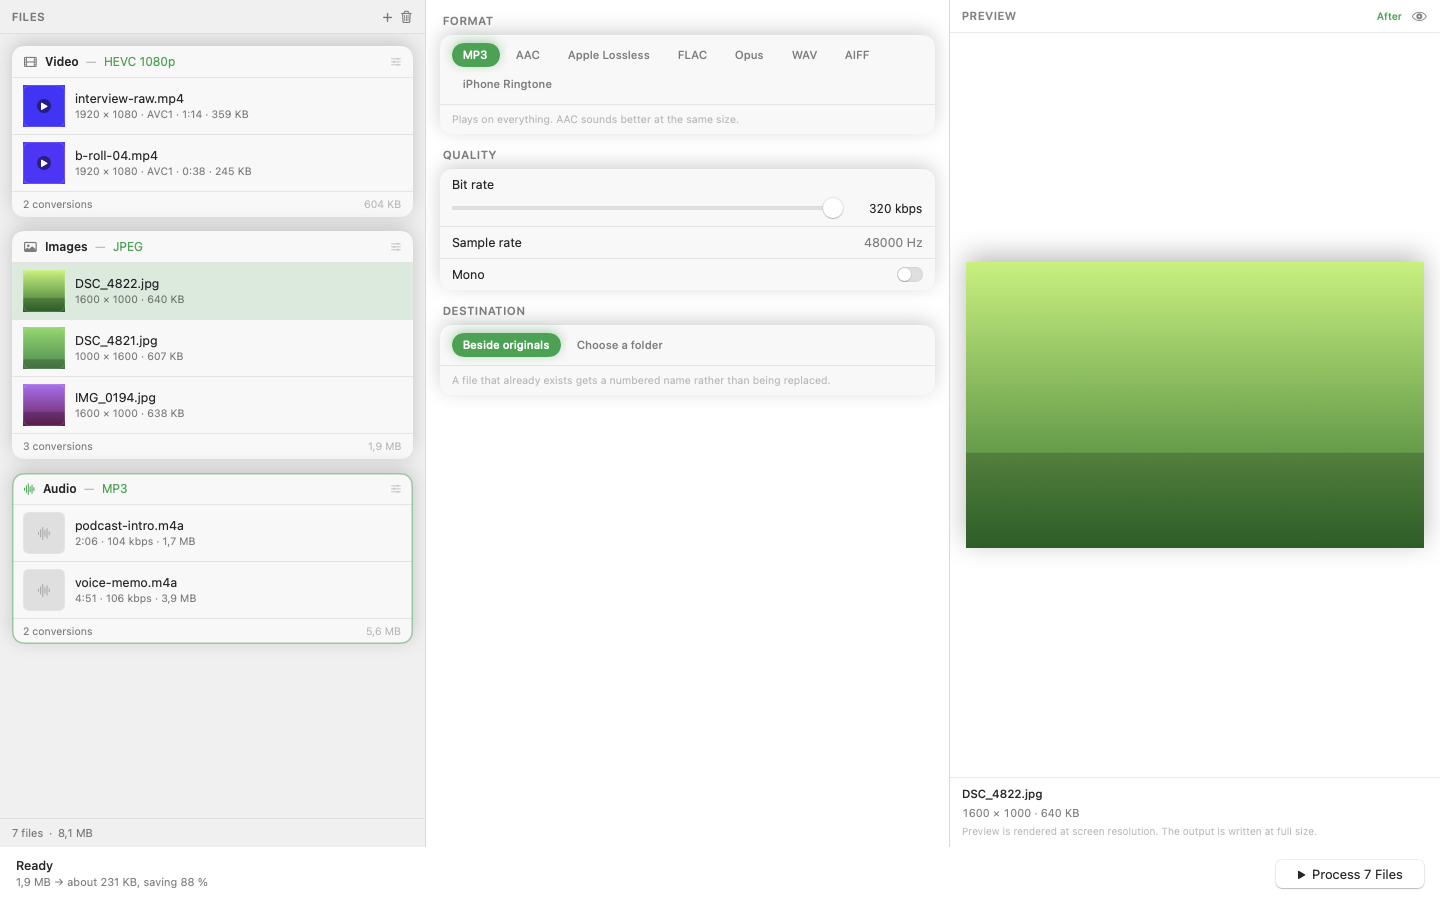
Mediasmith runs resize and quality compression as stages in the same pipeline, so both happen in one batch pass instead of two separate tools or steps.
Format Choice Matters Too
WebP typically produces smaller files than JPG at equivalent visual quality, and it's now widely supported by browsers and platforms. If the destination accepts it, switching format alone can shrink files without touching quality or dimensions at all.
Test Before Committing to a Batch
Run a handful of representative images through your chosen settings first, view them at their actual output size, and only then commit the setting to the full batch. What looks fine on a photo of a landscape might show artifacts on a photo with fine text or sharp edges.
Smaller files without visible quality loss isn't a myth — it's just resize and compression working together instead of compression alone doing all the work.