You unplug your headphones and want audio to go to your speakers. Or you connect AirPods and macOS picks the wrong device. Or you walk into a meeting room and need to switch to the conference speaker. Every time, it's: System Settings → Sound → Output → scroll → click. Too many clicks for something that should take one.
Here are all the ways to switch audio output faster on Mac — from built-in shortcuts to menu bar tools that eliminate the clicking entirely.
Method 1: Option-click the volume icon
This is the fastest built-in method and most people don't know about it.
Hold Option (⌥) and click the volume/sound icon in your menu bar. Instead of the normal volume slider, you get a list of all available output devices. Click the one you want. Done.
If you don't see the sound icon in your menu bar, enable it: System Settings → Control Center → Sound → select "Always Show in Menu Bar."
Limitation: This only shows output devices — you can't adjust per-app volume or see what's currently playing from this menu.
Method 2: Control Center
Click the Control Center icon (the two-toggle icon) in the menu bar → click the Sound section → click the current device name to see all available outputs.
Limitation: It's three clicks instead of one. Slightly slower than Option-clicking the volume icon.
Method 3: System Settings shortcut
You can pin Sound to the top-level System Settings sidebar, but it still requires navigating to the Output tab and selecting a device. Not fast.
Method 4: Keyboard shortcut (with setup)
macOS doesn't have a built-in keyboard shortcut for switching audio devices. However, you can create one using Automator or Shortcuts:
- Open Shortcuts app
- Create a new shortcut that runs a shell script:
SwitchAudioSource -s "Device Name"(requires theswitchaudio-osxcommand-line tool from Homebrew) - Assign a keyboard shortcut to the shortcut
This works but requires Homebrew, a command-line tool, and manual setup per device. Not practical for most users.
Method 5: SoundDial's built-in device switcher
SoundDial includes an output device picker right in its menu bar popover — alongside your per-app volume sliders. One click to open SoundDial, one click to switch devices. No digging through System Settings.
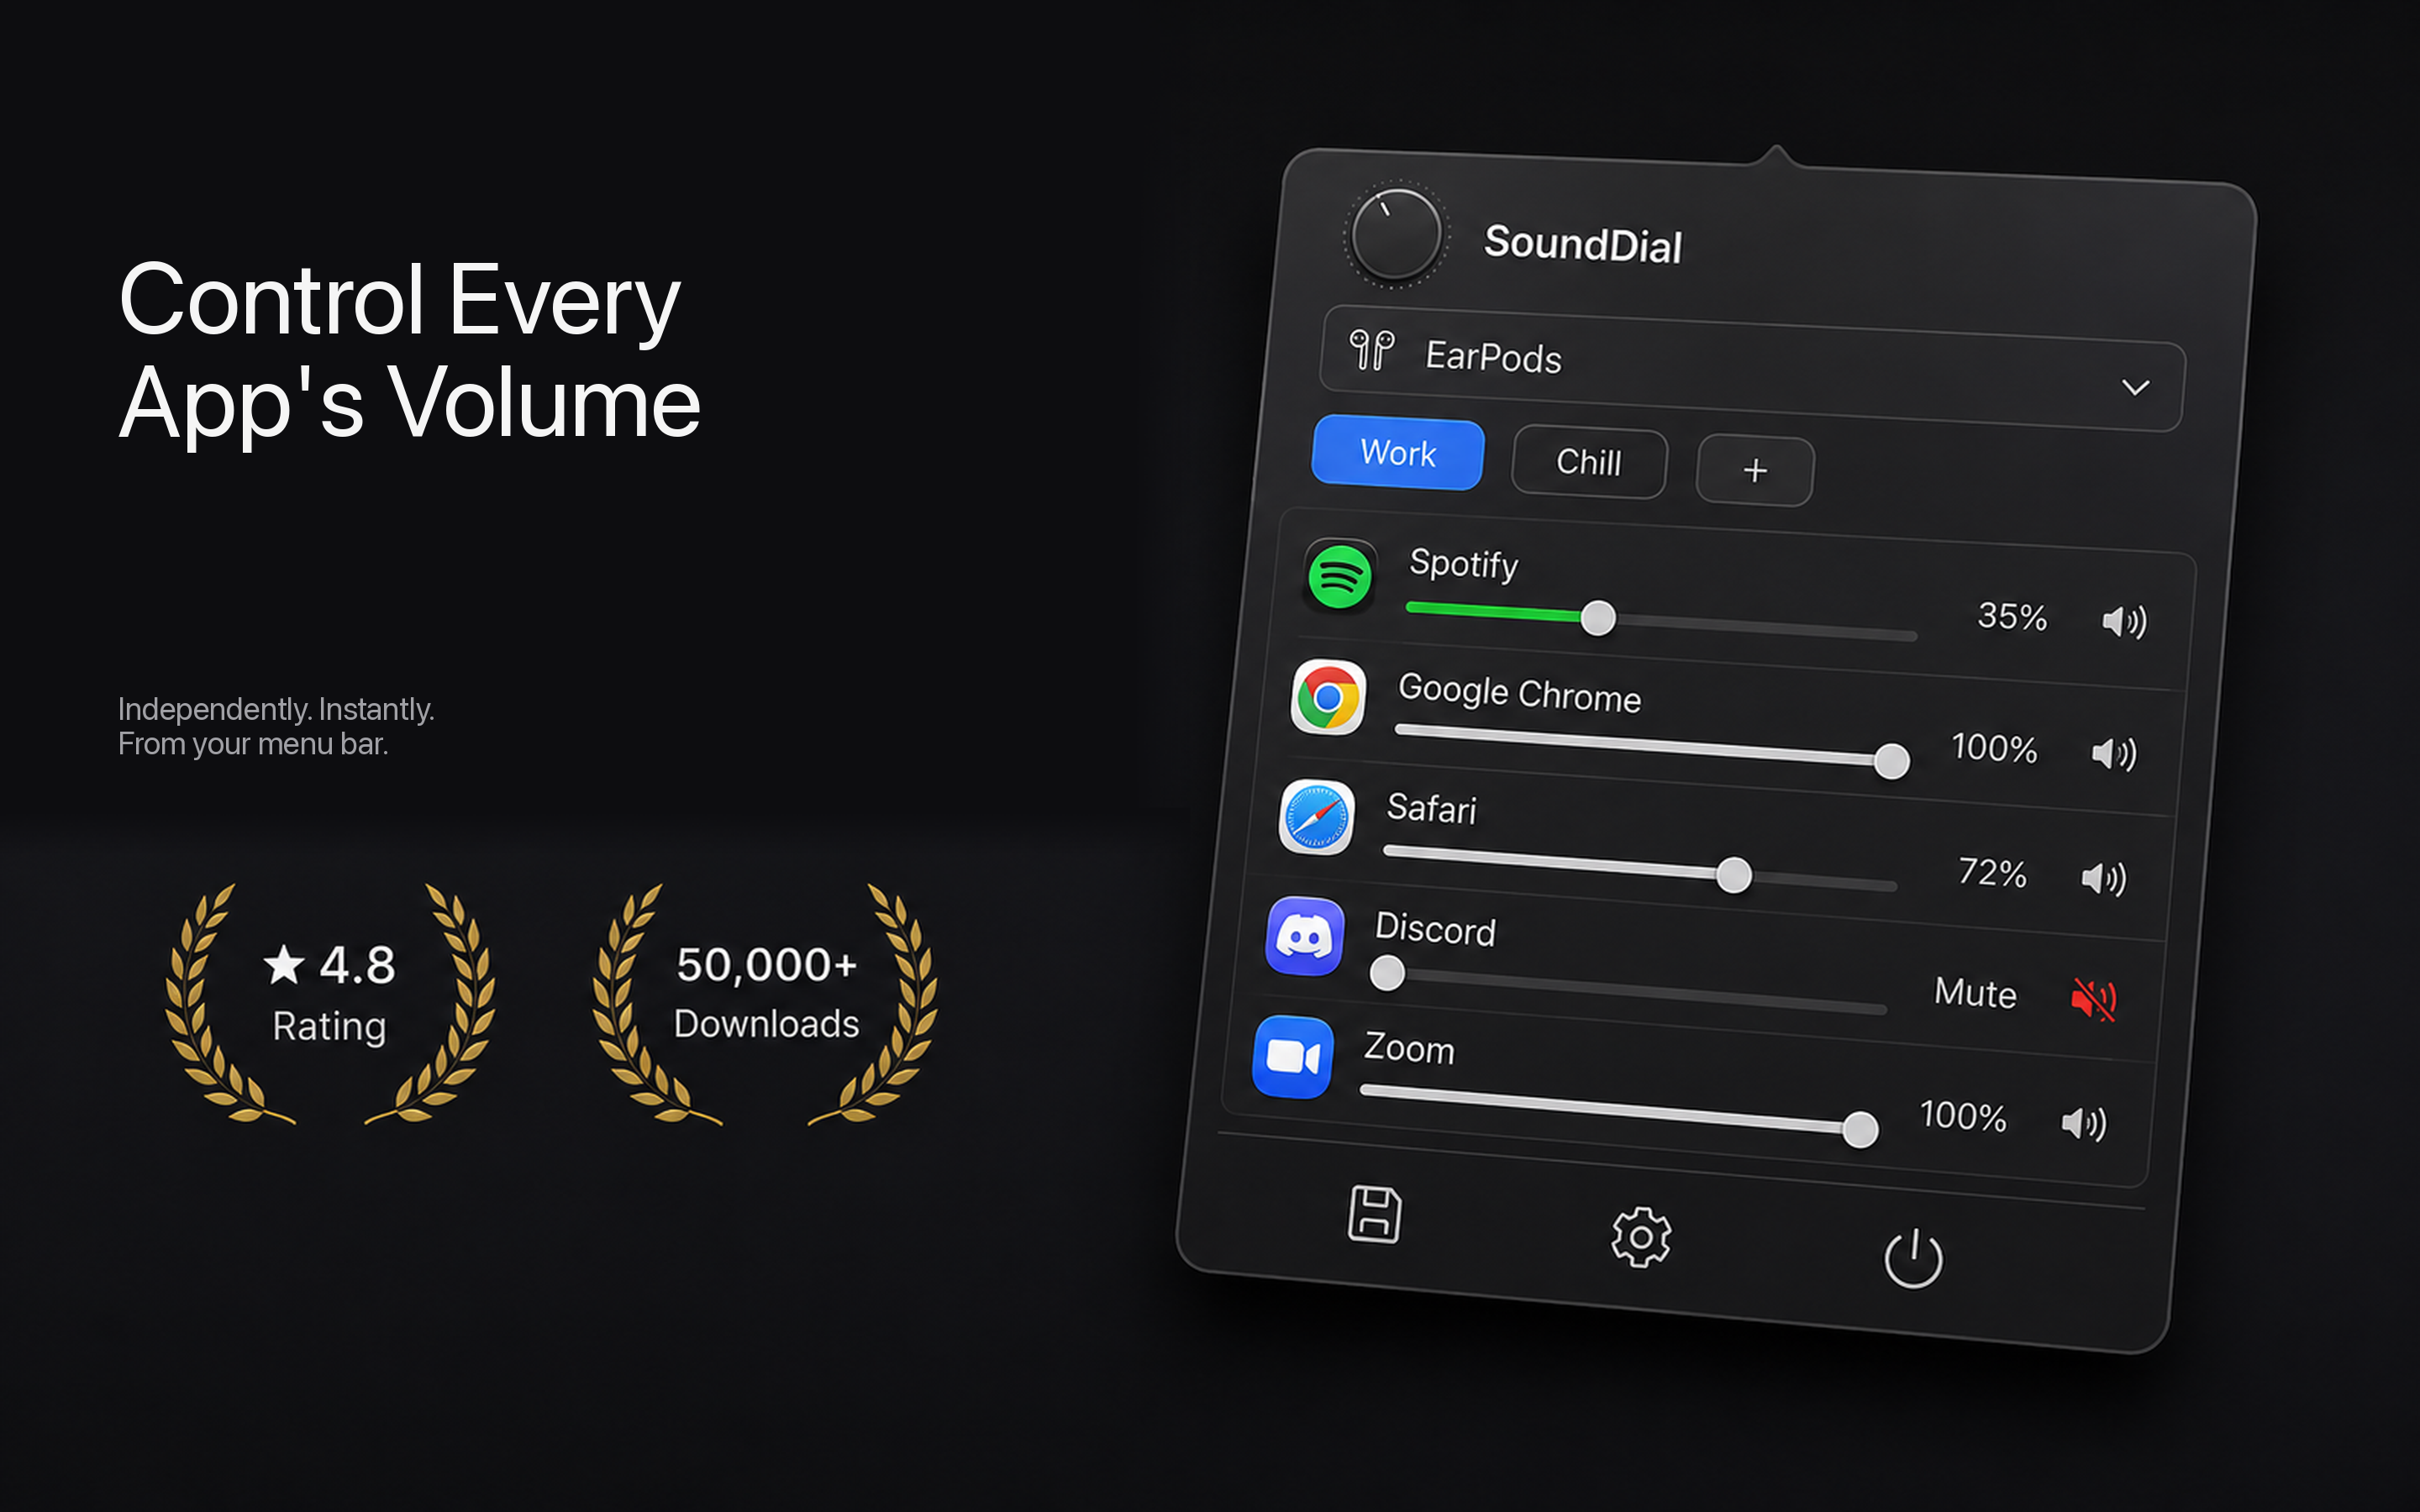
The advantage of switching devices inside SoundDial: you can switch your output and adjust per-app volumes in the same panel. Switch to AirPods and immediately lower Spotify while boosting your call — all without leaving the popover.
Combined with SoundDial's volume memory feature, each output device can remember its own per-app volume levels. Switch to speakers and your "speakers" volume balance applies. Switch to headphones and your "headphones" balance applies. No manual re-adjusting.
Get SoundDial on the Mac App Store — €14.99 one-time purchase, no subscription, macOS 14.2+.