Having your phone stolen is stressful enough without the added worry that a stranger now has access to your entire photo library, your messages, and your personal documents. The good news is that with the right preparation, you can ensure that even if your phone is taken, your most private content remains completely inaccessible. This guide covers both preventive measures to set up now and reactive steps to take if your phone is stolen.
Before It Happens: Preventive Measures
1. Use a Strong Passcode
Your device passcode is the first line of defense. A four-digit PIN has 10,000 possible combinations, which a determined person could exhaust relatively quickly. Switch to a six-digit PIN (1 million combinations) or, better yet, an alphanumeric password.
- Go to Settings, Face ID and Passcode (or Touch ID and Passcode).
- Tap "Change Passcode."
- Select "Passcode Options" and choose either "Custom Alphanumeric Code" or "Custom Numeric Code."
Avoid obvious codes like 000000, 123456, or your birth year. The strongest approach is an alphanumeric password of eight or more characters.
2. Enable Face ID or Touch ID
Biometric authentication makes it convenient to use a strong passcode without the annoyance of typing it constantly. Face ID or Touch ID handles the frequent unlocks while your complex passcode serves as the backup that a thief cannot easily guess.
3. Enable Find My iPhone
Find My iPhone is essential for theft recovery and remote protection:
- Go to Settings, tap your name, then Find My, then Find My iPhone.
- Enable "Find My iPhone," "Find My network" (for offline finding), and "Send Last Location."
With Find My enabled, you can locate your device on a map, play a sound, display a message on the lock screen, remotely lock the device, or remotely erase all data.
4. Disable Lock Screen Access to Sensitive Features
By default, your iPhone allows access to several features from the lock screen without authentication:
- Go to Settings, Face ID and Passcode.
- Under "Allow Access When Locked," disable: Notification Center, Control Center, Siri, Reply with Message, and USB Accessories.
This prevents a thief from using Siri to access information, reading notification previews, toggling airplane mode via Control Center (which would disable Find My tracking), or connecting USB forensic tools.
5. Enable Stolen Device Protection
iOS 17.3 introduced Stolen Device Protection, which adds an extra security layer when your phone is away from familiar locations. When enabled, critical actions like changing your Apple ID password, disabling Find My, or turning off Face ID require biometric authentication and a one-hour security delay. This prevents a thief who observed your passcode from quickly locking you out of your own device.
- Go to Settings, Face ID and Passcode, then Stolen Device Protection.
- Toggle it on.
6. Set Up a SIM PIN
Without a SIM PIN, a thief can remove your SIM card and insert it into another phone, potentially receiving your two-factor authentication codes or calls. Setting a SIM PIN requires the PIN every time the SIM is inserted into a new device.
- Go to Settings, Cellular, then SIM PIN.
- Enable the SIM PIN and set a custom code. The default PIN is usually 1111, so change it immediately.
7. Maintain Secure Backups
If your phone is stolen and you need to remotely wipe it, you want to be sure you will not lose irreplaceable photos. Set up regular backups via iCloud Backup or encrypted local backups via Finder or iTunes. Ensure local backups are encrypted (there is a checkbox in Finder/iTunes) so that the backup file itself is protected.
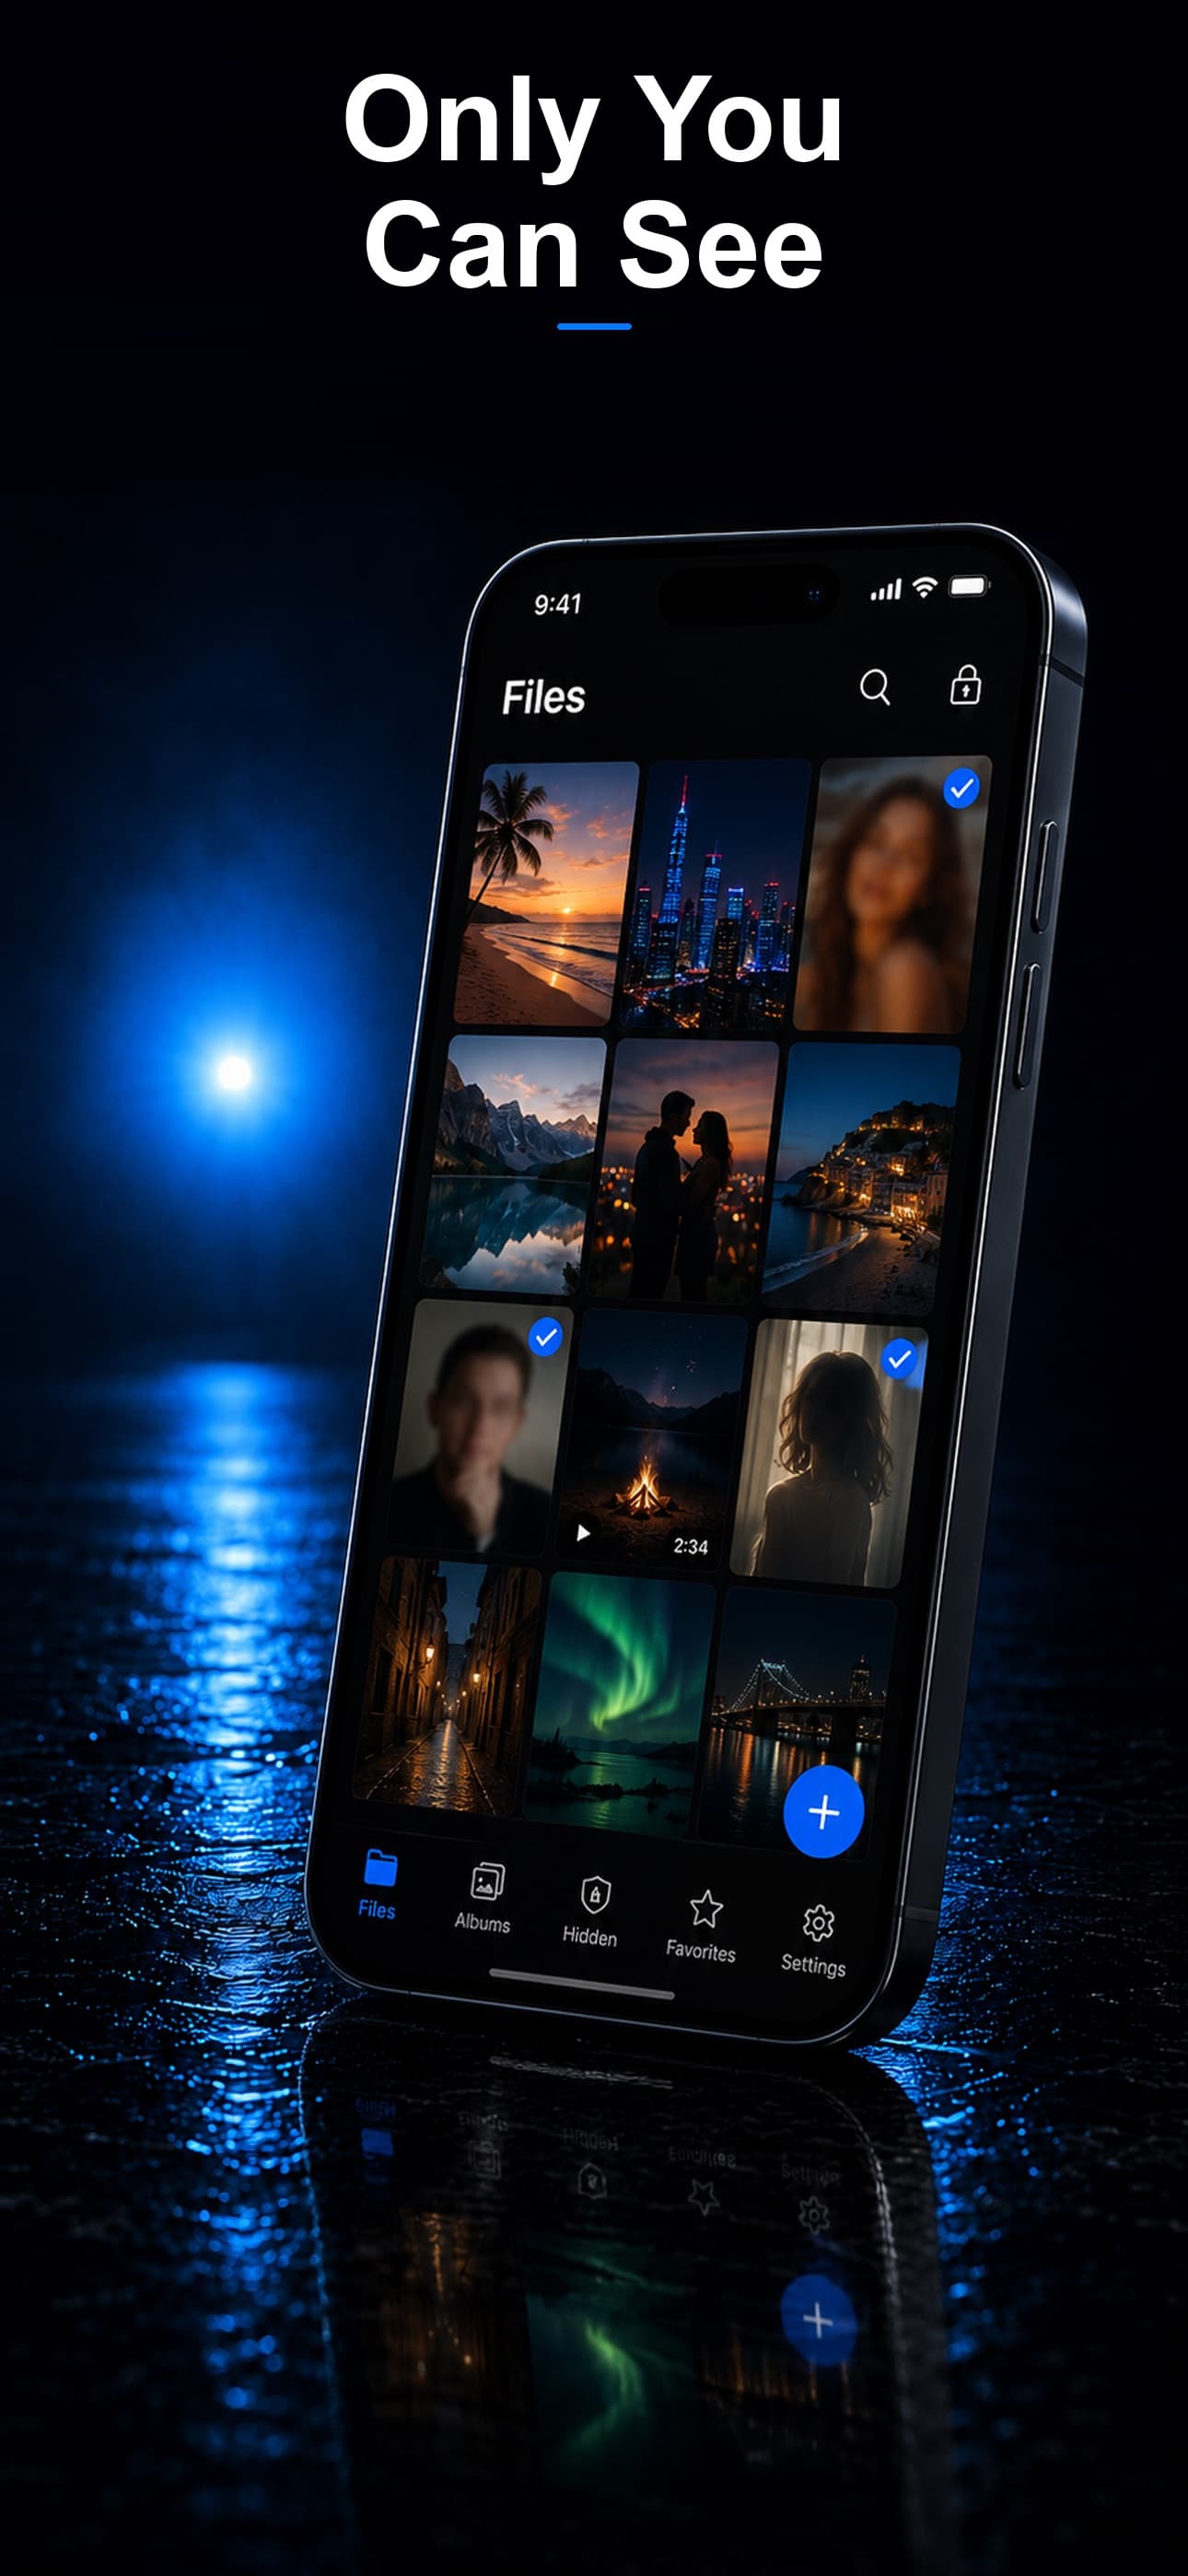
8. Use an Encrypted Vault for Your Most Sensitive Photos
All of the measures above protect your device, but they share a common weakness: they all rely on the device passcode. If a thief watches you enter your passcode before stealing the phone (a common "shoulder surfing" tactic), they bypass every device-level protection.
An encrypted vault app operates independently of your device passcode. It has its own authentication, its own encryption, and its own defense mechanisms. Even if a thief has full access to your unlocked phone, they face a second layer of security that is entirely separate.
After It Happens: Reactive Steps
Step 1: Use Find My to Locate the Device
Open the Find My app on another Apple device or visit iCloud.com/find from any browser. Check the device's last known location. If it is nearby and you believe it was simply lost, play a sound to locate it.
Step 2: Mark as Lost
If you cannot recover the phone immediately, activate Lost Mode. This remotely locks the device, disables Apple Pay, displays a custom message with your contact number, and tracks the device's location over time. Lost Mode also prevents anyone from turning off Find My without your Apple ID password.
Step 3: Contact Your Carrier
Call your wireless carrier and report the phone as stolen. They can suspend service to your number, preventing the thief from using your phone plan or receiving your calls and messages.
Step 4: Change Critical Passwords
Even with a locked device, change the passwords for accounts that may have been accessible: Apple ID, email, banking apps, social media, and any account where you used autofill passwords. Enable two-factor authentication on any account that does not already have it.
Step 5: Remote Erase (If Necessary)
If you are confident the phone will not be recovered, use Find My to remotely erase all data. This restores the device to factory settings, making your personal data inaccessible. Note that Activation Lock remains active, so the thief cannot set up the phone with a different Apple ID.
Step 6: File a Police Report
File a report with your local police, including the device's serial number and IMEI (available in your Apple ID account at appleid.apple.com). Some carriers and insurance providers require a police report to process claims.
The Last Line of Defense
Device-level protections are essential but imperfect. A determined thief with your passcode can bypass Find My, disable Stolen Device Protection after the delay period, and access everything on your phone. An encrypted vault is your last line of defense: a separate, independently secured container for your most private files.
Stash encrypts every file with AES-256, requires its own passcode (separate from your device), includes a decoy vault for plausible deniability, and captures intruder selfies on failed attempts. Even if every other defense fails, your vault contents remain encrypted and inaccessible. Download Stash from the App Store and set up your last line of defense before you need it.