Your iPhone ships with dozens of privacy settings, many of which default to sharing more data than most people realize. Apple has made significant strides in user privacy, but the default configuration still leaves room for improvement. This guide walks through the settings you should change right now, plus the one area where iOS settings alone cannot fully protect you.
Location Services
Review App-by-App Permissions
Go to Settings > Privacy & Security > Location Services. Review every app listed and ask yourself: does this app genuinely need my location? For most apps, the answer is no. Set the majority to "Never" or "While Using the App."
Disable Precise Location for Social Media
For apps where you do allow location access, toggle off "Precise Location." This gives apps your approximate location (enough for weather or local news) without pinpointing your exact address.
Turn Off Location-Based Apple Ads
Go to Settings > Privacy & Security > Location Services > System Services. Disable "Location-Based Apple Ads," "Location-Based Suggestions," and consider disabling "Significant Locations," which tracks places you visit frequently.
Tracking and Advertising
Disable App Tracking
Go to Settings > Privacy & Security > Tracking. Make sure "Allow Apps to Request to Track" is turned off. This prevents apps from asking permission to track you across other apps and websites, and revokes any previously granted permissions.
Limit Ad Personalization
Go to Settings > Privacy & Security > Apple Advertising. Turn off "Personalized Ads." This does not eliminate ads from Apple services, but it stops Apple from using your data to target them.
Camera and Microphone
Audit Camera Access
Go to Settings > Privacy & Security > Camera. Review which apps have camera access. Remove access for any app that does not absolutely need it. The orange dot indicator will alert you when the camera is active, but preventing unnecessary access in the first place is better.
Audit Microphone Access
Go to Settings > Privacy & Security > Microphone. Apply the same scrutiny. Social media apps, games, and shopping apps rarely need microphone access.
Safari Privacy
Enable Prevent Cross-Site Tracking
Go to Settings > Apps > Safari. Make sure "Prevent Cross-Site Tracking" is enabled. This blocks third-party cookies that follow you across websites.
Hide IP Address
In the same Safari settings, enable "Hide IP Address" from trackers. If you use iCloud Private Relay (available with an iCloud+ subscription), enable it for both trackers and websites.
Use Private Browsing by Default
Consider making Private Browsing your default Safari mode. In Safari, long-press the tabs icon to switch to a Private tab group. Private tabs now lock behind Face ID or Touch ID when you switch away.
Siri and Search
Limit Siri Data Sharing
Go to Settings > Siri. Review what data Siri can access. Under "Siri & Dictation History," you can delete all history that Apple has stored. Consider disabling "Listen for 'Hey Siri'" if you do not use it, as it requires the microphone to be always listening.
Control Spotlight Suggestions
Go to Settings > Siri & Search. For each app, you can disable "Show in Search," "Suggest App," and "Learn from this App." This prevents content from specific apps from appearing in Spotlight search results and Siri suggestions.
Lock Screen
Limit Lock Screen Access
Go to Settings > Face ID & Passcode. Under "Allow Access When Locked," consider disabling Notification Center, Control Center, Siri, Reply with Message, and Wallet. Each of these provides information or functionality to someone who picks up your locked phone.
Use a Strong Passcode
Switch from a 4-digit PIN to a 6-digit PIN or, better yet, an alphanumeric passcode. Go to Settings > Face ID & Passcode > Change Passcode and tap "Passcode Options" to select a custom alphanumeric code.
iCloud and Data Sync
Enable Advanced Data Protection
Go to Settings > [Your Name] > iCloud > Advanced Data Protection. When enabled, this end-to-end encrypts almost all of your iCloud data so that even Apple cannot access it. This is one of the most significant privacy improvements you can make.
Review What Syncs to iCloud
Go to Settings > [Your Name] > iCloud and review the list of apps syncing data. Disable cloud sync for any app whose data you want to keep strictly on your device.
The Gap That Settings Cannot Close
After making all these changes, one significant gap remains: anyone who knows your device passcode has full access to your photos, files, notes, and browsing history. iOS does not offer per-app or per-folder encryption with a separate passcode. Biometric authentication (Face ID or Touch ID) is tied to the device passcode as a fallback, so it is not truly a separate layer.
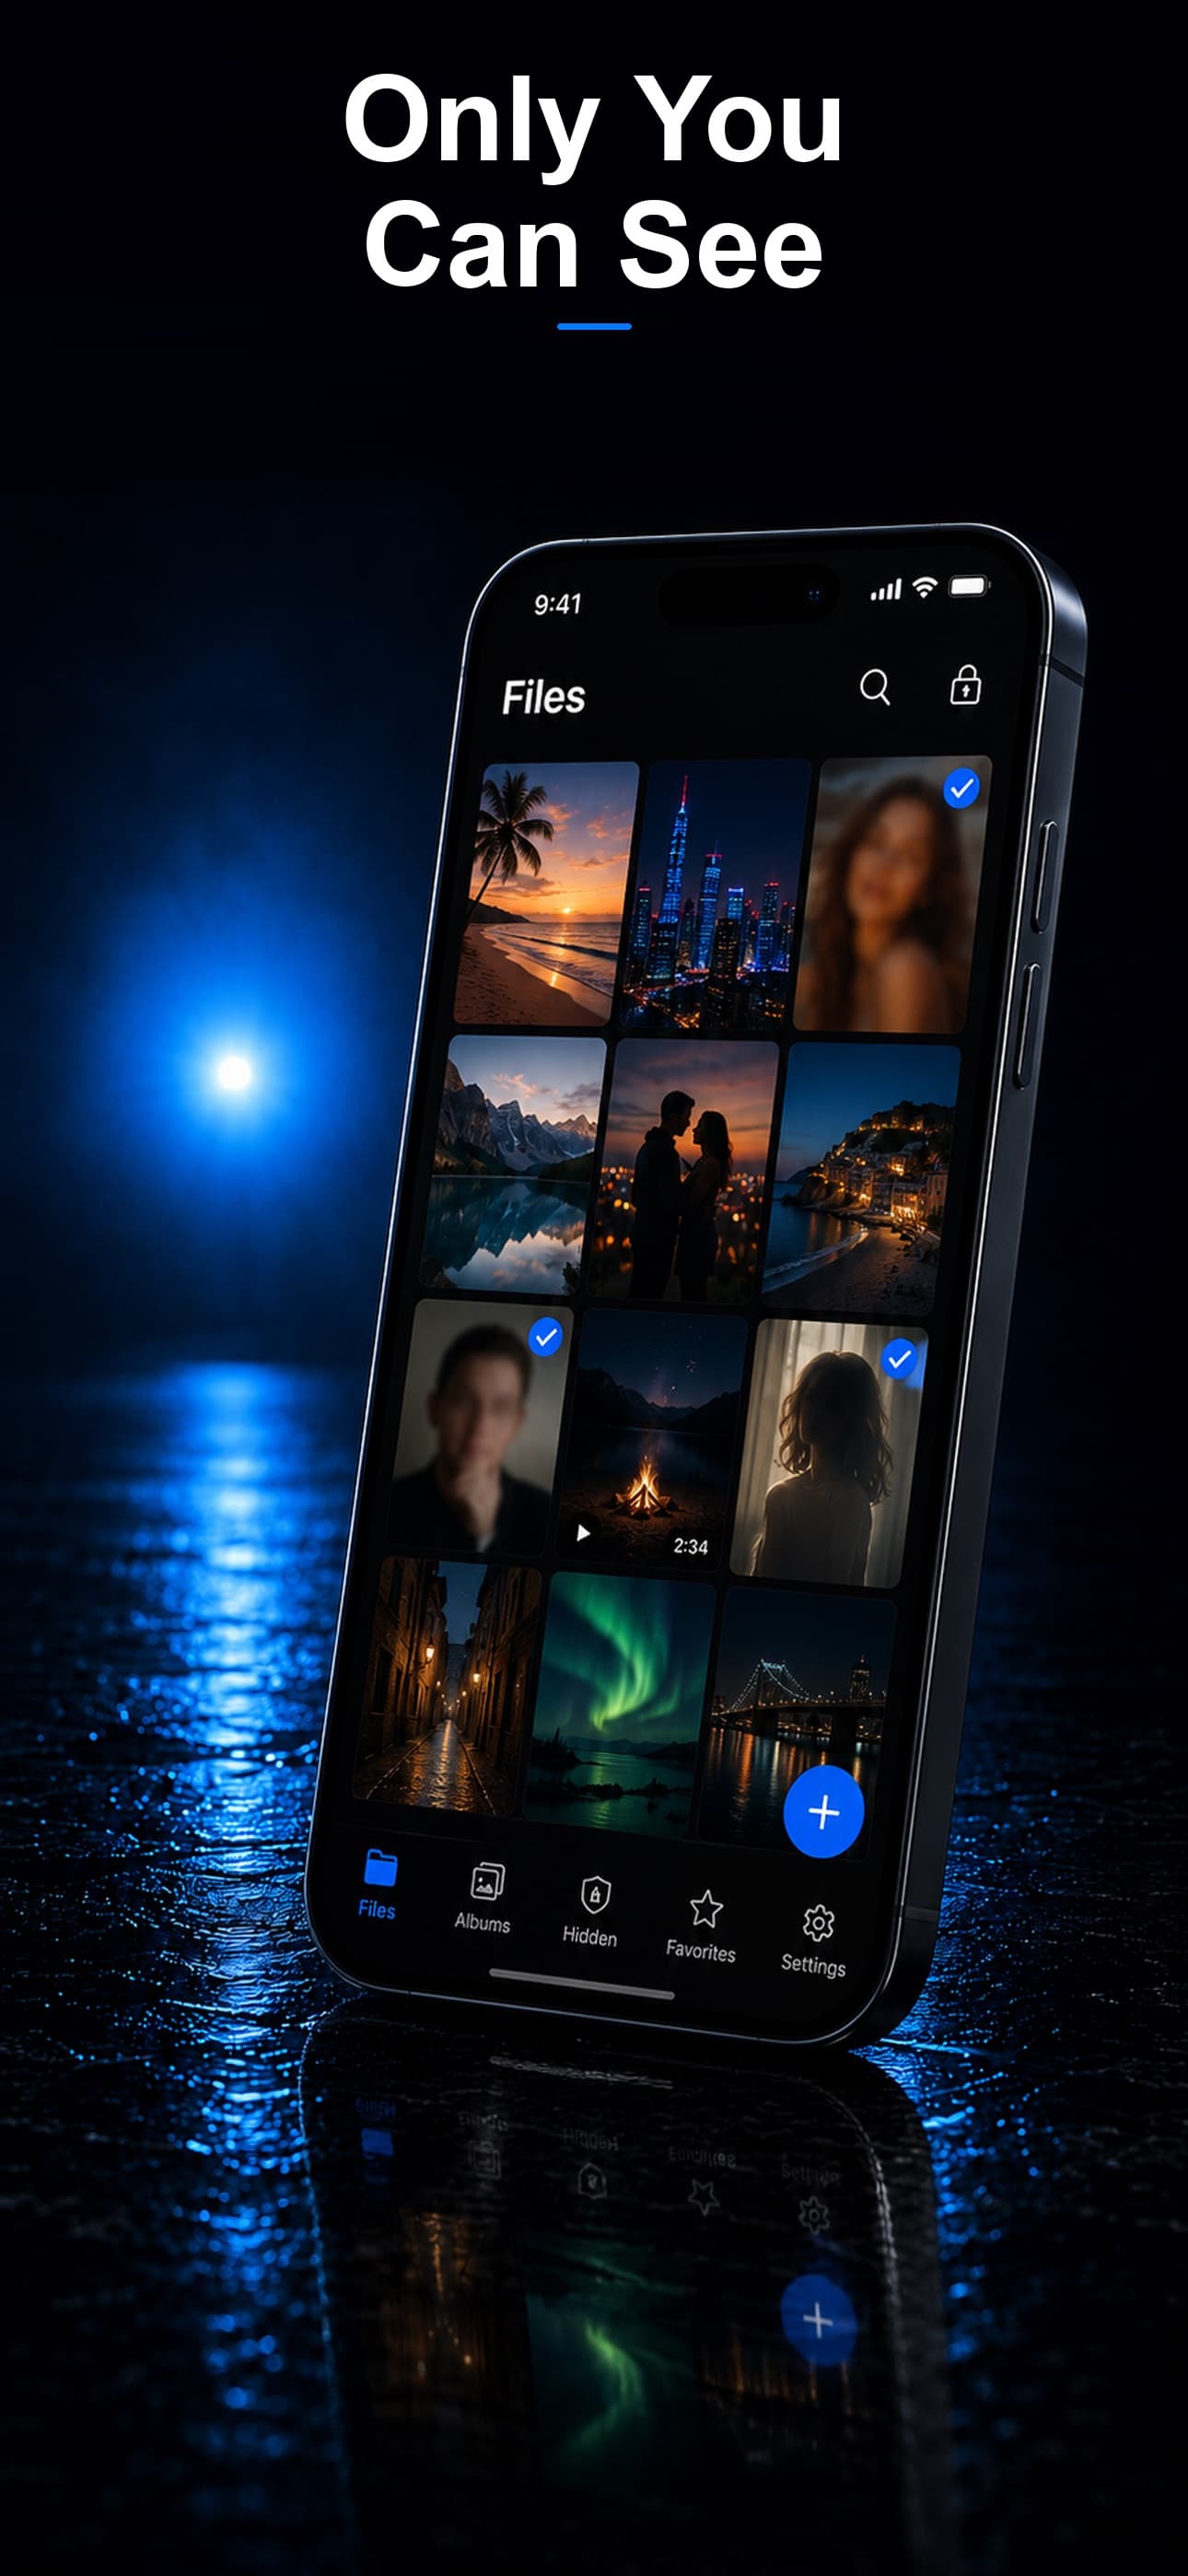
This is where a dedicated vault app becomes essential. Stash: Secret File Vault provides an independent encryption layer with its own passcode, AES-256 encryption, app disguise, decoy vault, and intruder detection. It protects your most sensitive content even from someone who has your iPhone passcode.
iOS privacy settings are your first line of defense. A vault app is your last. Combine both for comprehensive protection. Download Stash from the App Store and add the layer of security that your iPhone settings alone cannot provide.